

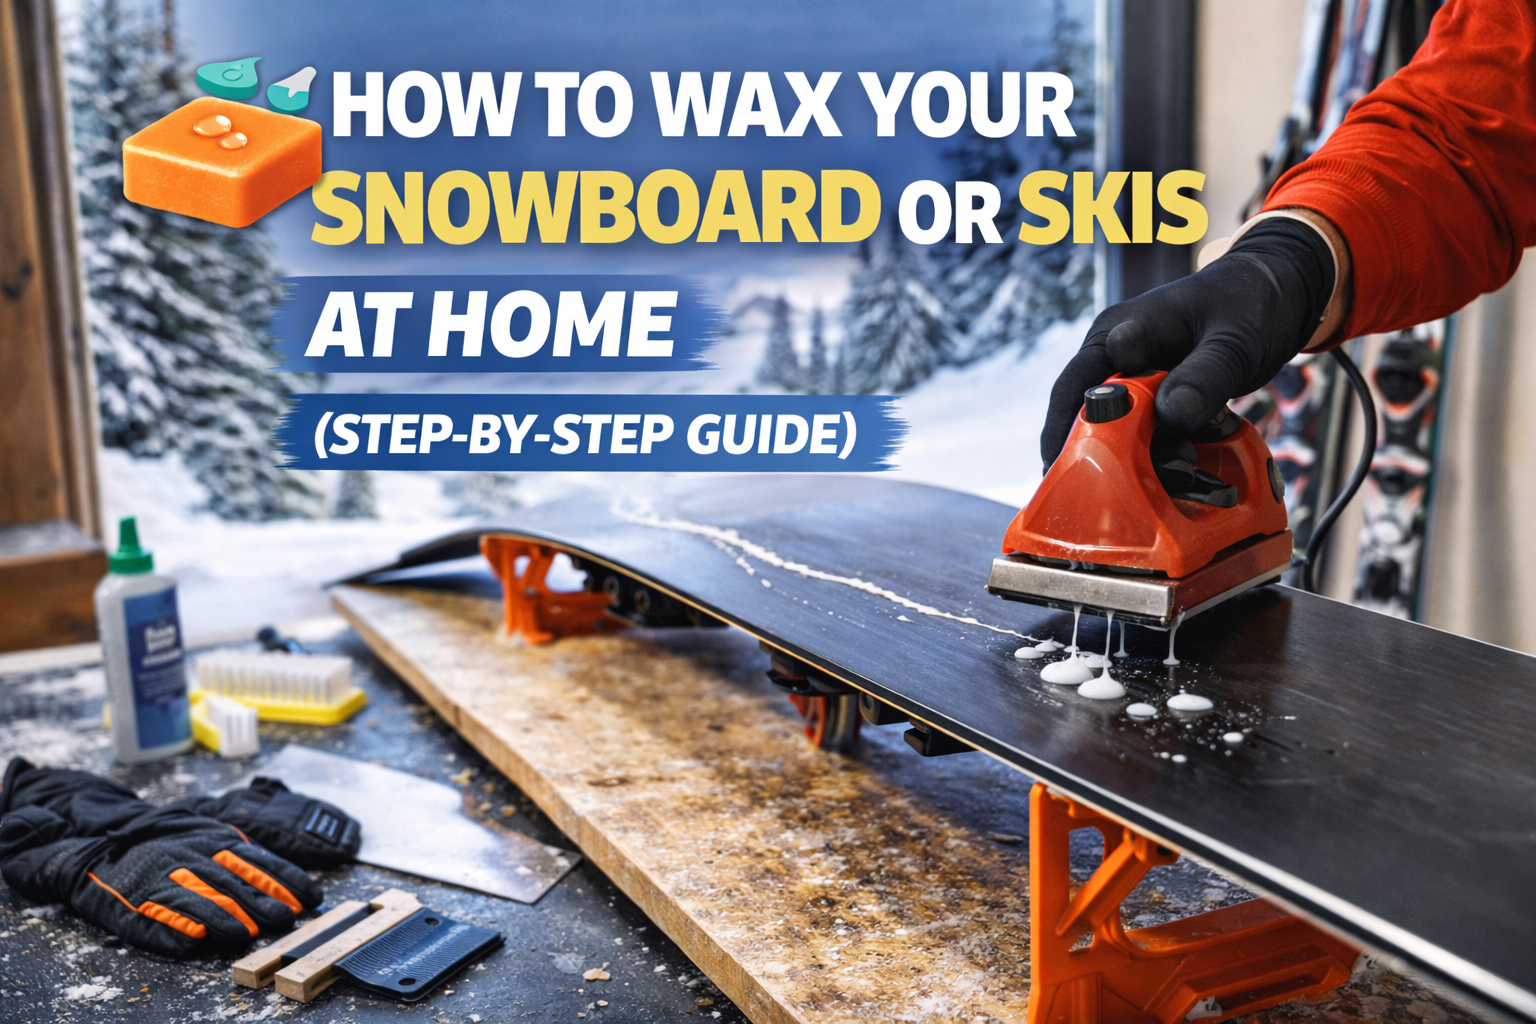
🧼 How to Wax Your Snowboard or Skis at Home (Step-by-Step Guide)
Waxing your snowboard or skis isn’t just something pros do — it’s one of the easiest ways to improve speed, control, and overall ride quality. Best of all, you don’t need a shop visit every time. With a little practice, you can wax your gear at home and save money all season long.
This step-by-step guide walks you through everything you need to know to wax your snowboard or skis safely and correctly.
🧠 Why Waxing Matters
Fresh wax helps your base glide smoothly over snow instead of sticking or feeling slow.
Benefits of regular waxing:
-
Faster, smoother rides
-
Better edge-to-edge control
-
Less base damage and drying
-
Improved performance in all snow conditions
If your board or skis look white, chalky, or feel slow — it’s time to wax.
🧰 What You’ll Need
You don’t need expensive tools to get started.
Basic waxing kit:
-
Snowboard or ski wax (all-temperature wax is fine)
-
Waxing iron (or old household iron — no steam)
-
Plastic scraper
-
Nylon or horsehair brush
-
Clean cloth or paper towels
Optional but helpful:
-
Base cleaner
-
Workbench or sturdy surface
🧊 Step 1: Clean the Base
Before waxing, your base must be clean.
-
Wipe off dirt and moisture
-
Use base cleaner if the board is very dirty
-
Let the base fully dry
Never wax over dirt — it seals grime into the base.
🔥 Step 2: Melt the Wax
-
Plug in the iron and set it to low heat
-
Hold the wax against the iron and drip it evenly across the base
Avoid overheating — the wax should melt smoothly, not smoke.
🧼 Step 3: Iron the Wax In
-
Move the iron slowly from nose to tail
-
Spread the wax evenly across the entire base
-
Keep the iron moving — never leave it in one spot
This allows the base to absorb the wax properly.
❄️ Step 4: Let It Cool
-
Let the wax cool for at least 20–30 minutes
-
Do not scrape while the wax is still warm
Cooling allows the wax to fully set into the base.
🪒 Step 5: Scrape Off Excess Wax
-
Use a plastic scraper
-
Scrape from nose to tail
-
Remove all visible wax
Leaving excess wax slows you down — the wax inside the base is what matters.
🧹 Step 6: Brush and Polish
-
Brush the base to remove leftover wax from the structure
-
Wipe clean with a cloth
Your base should look smooth, dark, and glossy.
🏂 How Often Should You Wax?
-
Every 3–5 riding days (ideal)
-
After riding in dirty or icy conditions
-
Before a big trip
-
At the start and end of each season
Frequent waxing extends the life of your board or skis.
⚠️ Common Waxing Mistakes to Avoid
-
Using too much wax
-
Overheating the base
-
Not scraping thoroughly
-
Skipping brushing
-
Using the wrong temperature wax
Take your time — rushing leads to mistakes.
🏁 Final Thoughts
Waxing your snowboard or skis at home is easier than most people think. Once you do it a few times, it becomes quick, affordable, and extremely satisfying.
A freshly waxed base means faster runs, smoother turns, and a better day on the mountain — every time.