

🧭 How to Choose the Right Ski or Snowboard Trail Difficulty
If you’ve ever stood at the top of a mountain staring at the trail map wondering “Can I actually ride this?” — you’re not alone.
Understanding trail difficulty ratings is one of the most important skills for staying safe, building confidence, and progressing smoothly in skiing and snowboarding.
This guide breaks down what each trail level really means and how to choose the right one for your ability.
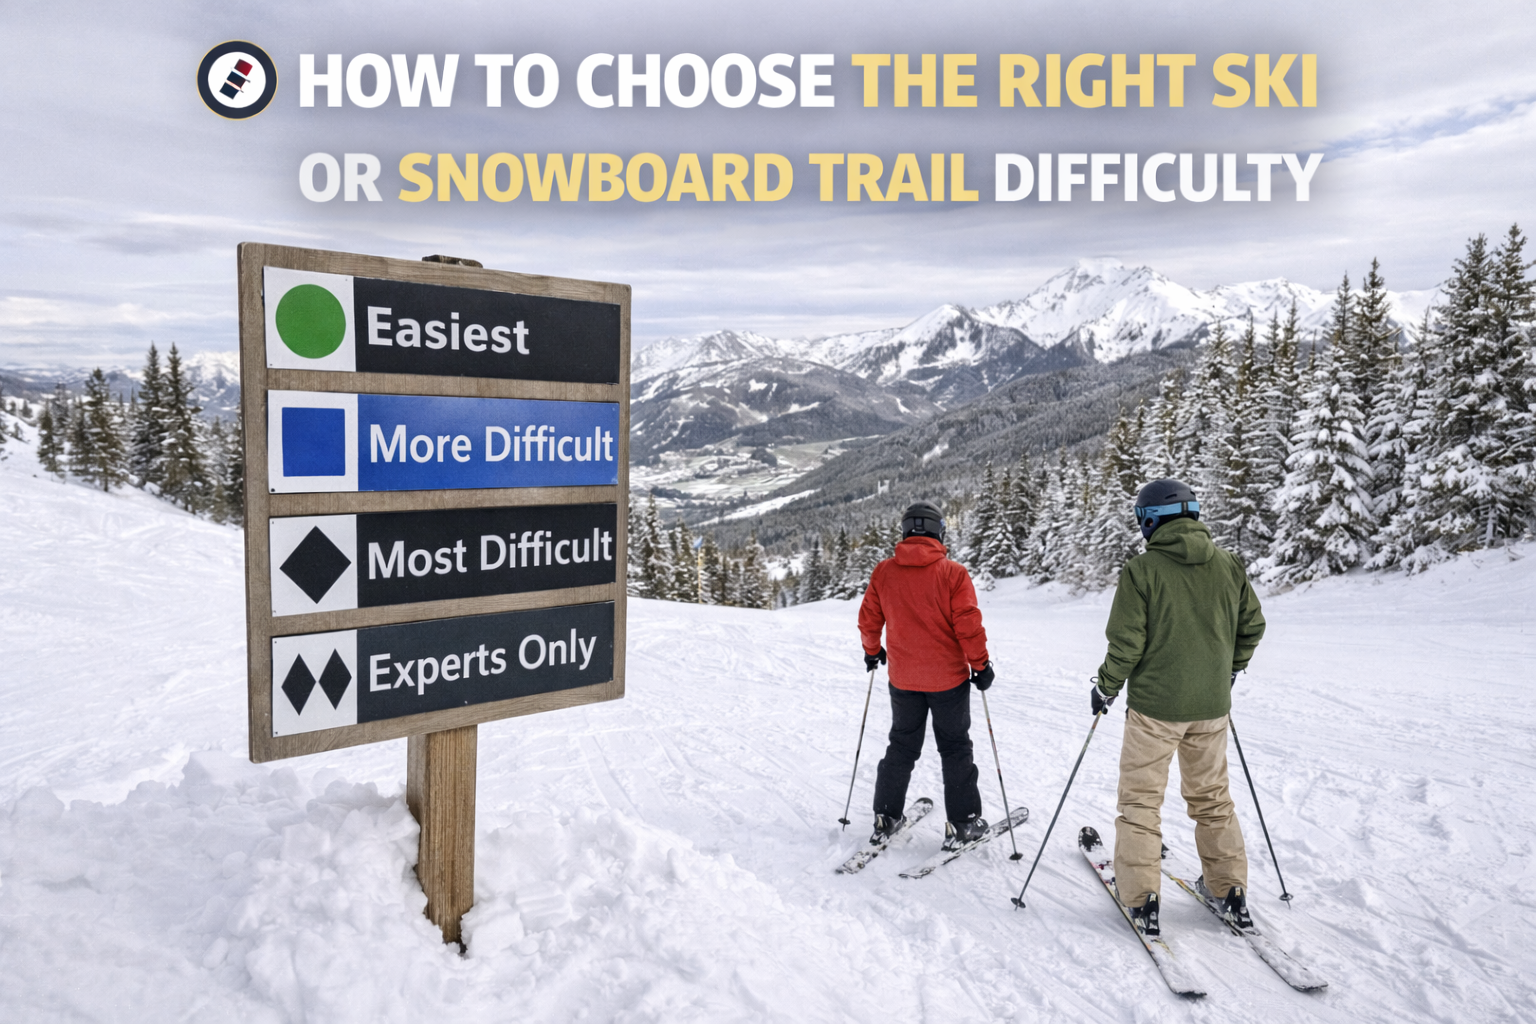
🎿 The Trail Rating System Explained
Most ski resorts in North America use the same basic system:
-
🟢 Green Circle — Beginner
-
🔵 Blue Square — Intermediate
-
⚫ Black Diamond — Advanced
-
⚫⚫ Double Black — Expert
But here’s the key many beginners miss:
👉 Ratings are relative to that specific mountain.
A blue at one resort can feel like a black at another.
🟢 Green Circle: Beginner Terrain
Best for: First-timers and new riders
What to expect:
-
Gentle slopes
-
Wide trails
-
Groomed snow
-
Slow speeds
You should comfortably:
-
Stop on command
-
Link basic turns
-
Control your speed
✅ If you’re still falling frequently, stay on greens.
🔵 Blue Square: Intermediate Terrain
Best for: Riders who can turn confidently
What to expect:
-
Steeper pitches
-
Narrower sections
-
Variable snow conditions
-
Faster speeds
Before moving to blue, you should:
-
Link turns consistently
-
Control speed without panic
-
Handle mild icy patches
⚠️ Many beginners move to blue too early.
⚫ Black Diamond: Advanced Terrain
Best for: Experienced riders only
What to expect:
-
Steep sustained pitches
-
Moguls or ungroomed sections
-
Tight trees or narrow runs
-
Faster, more technical riding
You’re ready for blacks when you can:
-
Carve confidently
-
Handle variable snow
-
Stay controlled on steeps
This is where technique really matters.
⚫⚫ Double Black Diamond: Expert Only
Best for: Highly advanced riders
What to expect:
-
Very steep terrain
-
Cliffs or mandatory drops
-
Deep moguls
-
Tight trees
-
Ungroomed conditions
These runs leave very little room for error.
👉 If you’re unsure — you’re probably not ready yet.
🧠 Smart Tips for Choosing the Right Trail
-
Warm up on easier runs first
-
Check the trail map before loading the lift
-
Watch a few riders drop in first
-
When in doubt, go one level easier
-
Remember: fatigue makes trails feel harder
Progression should feel challenging — not terrifying.
⚠️ Common Mistakes Riders Make
Mistake #1: Following friends onto terrain that’s too hard
Mistake #2: Assuming ratings are the same at every resort
Mistake #3: Riding steeps when legs are already tired
Mistake #4: Letting ego choose the trail
The mountain always wins against ego.
🏁 Final Thoughts
Choosing the right trail isn’t about playing it safe — it’s about setting yourself up to progress faster and ride with confidence.
Master each level fully before moving up, and you’ll build skills that last for years.
Ride smart, progress steadily, and the mountain will keep getting more fun every season.